

Swift Regex Deep Dive
iOS MacOur introductory guide to Swift Regex. Learn regular expressions in Swift including RegexBuilder examples and strongly-typed captures.
It was a Friday, and my pals Mikey and Step had been tasked with leading a WatchKit Hack Night the next week.
Eager to get involved, I reached out to Mikey. After some brainstorming back and forth, we decided to build a skeleton Timer app for the Hack Night. He was on the road teaching, and I was waiting for a
suite of automated tests to run for a client, so I took it upon myself to whip up the basic app.
And I was able to do it within three hours. (Note: I didn’t say it was a good WatchKit app.) You can see the app, dubbed Thymer, in this repo.
I began with the iPhone app, which involved a date picker, a button, a label and an NSLocalNotification. Voilá, a timer app in 10 minutes!
And with that, I was off into WatchKit land.
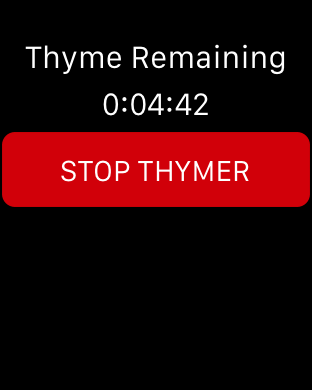
I used the Xcode template to generate the basics and then went for the Glance controller. Our original plan: Show the time remaining on the glance. Using the -openParentApplication:reply: call, retrieving the pertinent data was simple. Twenty minutes after creating the project, I had the timer countdown displaying in a watch glance.
I took a break for coffee and shared the repo with Mikey and Step. This coffee break ended up lasting about 36 hours, but let’s not dwell on that. The point is, I took a little break to collect my thoughts.
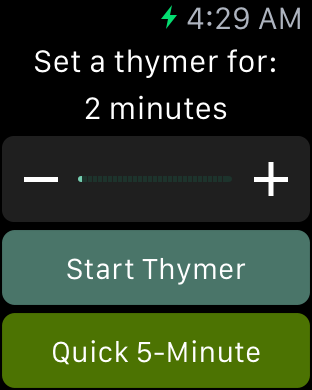
When I returned to it, I easily extended my previous communication work to allow for setting a new timer and cancelling a running timer. With a rudimentary communications layer completed, I set about building an interface controller that would let you set new timers. I thought the user should have a 2-30 minute control and a few shortcut buttons.
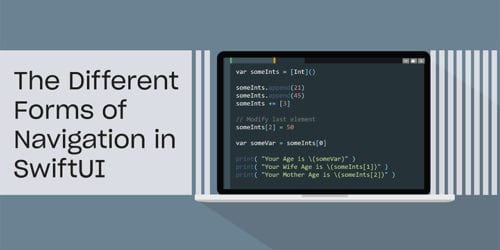
In the WatchKit app, you have a few navigation methods to choose from. There is the “hierarchical” approach, which an iOS developer understands as building an app around UITableView and UINavigationController. The other is called “page-based” and acts like a UIScrollView with pagination turned on. Given that there is at most one timer running at a time, neither of these approaches fit my app.
At first, I experimented with displaying the running timer in the main screen, above the controls.
This worked for the iOS app, where the date picker is centered on the screen. But when displaying or hiding the timer elements, the lack of animation gave a jarring effect.
Then I tried a hierarchical “push” of the timer panel.
This came with an animation, but the side-to-side movement didn’t feel right.
In the end, it worked best in a modal arrangement, where the animation swept up from the bottom. All of this took an hour and a half to nail down.
Finally, I turned my attention to the notification screen. It’s simple enough; there’s nothing of extra value in the detail screen. Just a “Ding! Timer went off!” sort of message. This took me a half hour, most of which was figuring out that I should be editing PushNotificationPayload.apns instead of trying to launch real local notifications.
After spending another 30 minutes making it pretty, I had a working (albeit rudimentary) phone and watch app on my hands. Or wrist.
The app worked well for the Hack Night, and we were able to get attendees started on building their own WatchKit apps. Keep an eye on the blog for more posts about WatchKit and Apple Watch, and don’t miss out on future Hack Nights or other events.
Our introductory guide to Swift Regex. Learn regular expressions in Swift including RegexBuilder examples and strongly-typed captures.

The Combine framework in Swift is a powerful declarative API for the asynchronous processing of values over time. It takes full advantage of Swift...
SwiftUI has changed a great many things about how developers create applications for iOS, and not just in the way we lay out our...